

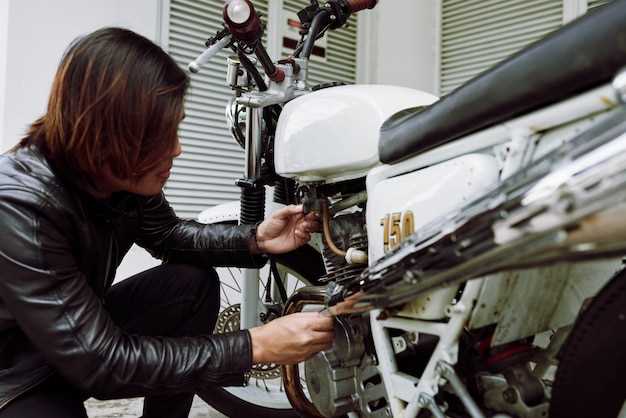
Motorcycles are not just a mode of transportation; they are a passion for many riders. However, the fairing of a motorcycle is often subjected to wear and tear from daily use, leading to scratches and cracks on the plastic components. Maintaining the aesthetics and functionality of your motorcycle requires addressing these imperfections promptly.
Repairing plastic fairings is both an art and a science. Understanding the materials involved and the repair techniques can make the process more efficient and effective. Whether you face minor surface scratches or significant cracks that disrupt the integrity of the plastics, several methods can restore your motorcycle’s fairing to its former glory.
In this article, we will explore various methods for repairing scratched and cracked motorcycle plastics, focusing on tools, materials, and step-by-step procedures that ensure a lasting fix. With the right approach, you can achieve professional results and save money while keeping your motorcycle looking pristine.
Identifying the Type of Damage on Motorcycle Fairings
When dealing with motorcycle fairings, it is essential to accurately identify the type of damage present before attempting any repair. This ensures that the appropriate techniques and materials are utilized for effective restoration. Damage to fairings can typically be categorized into three main types: scratches, cracks, and deep gouges.
Scratches are often superficial and only affect the surface layer of the plastic. They can usually be identified by their fine lines and may not compromise the structural integrity of the fairing. For minor scratches, polishing or buffing techniques can be effective in restoring the original appearance.
Cracks represent a more severe issue, as they may extend through the thickness of the plastic. These cracks can lead to further damage if not addressed promptly. They are typically visible as linear breaks in the material and require a more involved repair process. Techniques such as plastic welding or the application of specialized adhesives might be necessary to restore strength and prevent the cracks from spreading.
Deep gouges are the most challenging type of damage. They penetrate through to the underlying material and can significantly weaken the fairing. Identifying a gouge involves noting the depth and width of the damaged area, which often requires filling material to rebuild the affected section. An effective repair for gouges may include sanding, applying filler, and repainting the fairing to achieve a seamless finish.
By accurately assessing the type of damage, motorcycle owners can ensure that they choose the correct repair approach, leading to a successful restoration of their fairings and, consequently, the overall appearance and functionality of their motorcycle.
Step-by-Step Guide to Plastic Repair Techniques
Repairing scratched or cracked motorcycle plastics, particularly fairings, can significantly enhance the appearance and durability of your bike. This guide presents a comprehensive approach to effective plastic repair techniques.
Step 1: Assess the Damage
Begin by examining the plastic surface for scratches or cracks. Determine the extent of the damage; this will help in selecting the appropriate repair method. For minor scratches, a simple polishing might suffice, while deeper cracks may require more intensive techniques.
Step 2: Gather Your Materials
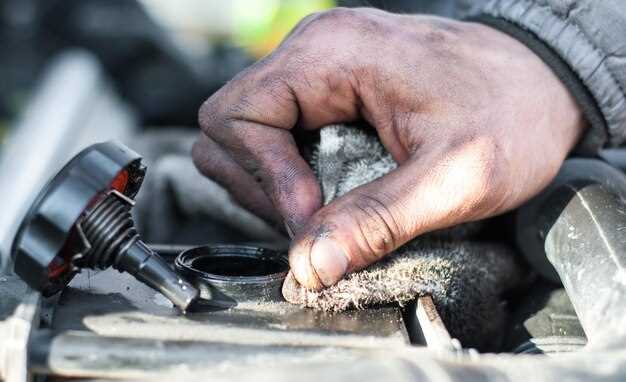
Collect the necessary materials such as plastic adhesive, sandpaper (various grits), a heat gun or lighter, plastic filler, and a paint matching the fairing. Ensure you have safety gloves, a mask, and a clean workspace.
Step 3: Clean the Area
Thoroughly clean the damaged area using a mild detergent and water. This removes dirt, grease, and any contaminants that could affect adhesion during the repair process. Allow the area to dry completely.
Step 4: Prepare the Surface
If repairing a crack, use sandpaper to feather the edges around the damaged area. This helps create a smoother transition between the repair and the original surface. For scratches, sanding lightly can help in blending the repair with existing plastic.
Step 5: Apply Plastic Adhesive
For cracks, apply a high-quality plastic adhesive according to the manufacturer’s instructions. Use a small applicator to push the adhesive into the crack, ensuring it fills completely. For large gaps, consider using plastic filler after the adhesive has cured.
Step 6: Heat Treatment
For more extensive cracks, gently heat the plastic using a heat gun or lighter. This will help to soften the plastic, allowing it to be reshaped or fused together. Be cautious not to overheat, as this can cause further damage.
Step 7: Sand and Smooth the Surface
Once the adhesive has fully cured, sand the repaired area using finer sandpaper to create a smooth finish. Be careful to match the contours of the fairing for a seamless appearance.
Step 8: Paint and Finish
Select a paint that closely matches the original color of your motorcycle fairing. Apply several light coats of paint, allowing adequate drying time between each coat. This will ensure a uniform finish. For a glossy effect, consider applying a clear coat after the final paint layer has dried.
Step 9: Final Inspection
Once all repairs and painting are complete, inspect the area for consistency in color and texture. Make any necessary touch-ups to ensure the fairing looks as good as new.
Following these steps will help you effectively repair scratched or cracked motorcycle plastics, ensuring that your bike retains its aesthetic appeal and structural integrity.
Choosing the Right Materials for a Durable Repair Finish
When it comes to repairing scratched and cracked motorcycle plastics, particularly fairings, selecting the appropriate materials is crucial for achieving a long-lasting finish. The right materials not only enhance the appearance of your motorcycle but also ensure the integrity of the repair over time.
First and foremost, consider using high-quality plastic repair kits specifically designed for motorcycle fairings. These kits typically include adhesives, fillers, and reinforcement cloth that allow for effective bonding and structural reinforcement of the plastic surface. Look for products that specify compatibility with the type of plastic your fairing is made from, such as ABS or polypropylene.
Next, opt for epoxy-based adhesives rather than standard super glues. Epoxy provides a stronger bond and is more resistant to temperature fluctuations and vibration, which are common in motorcycle usage. This choice is particularly important for areas that experience stress or movement, as it helps to prevent future cracks or separations in the repair.
Filler materials are also essential in the repair process. Choose a plastic filler that matches the flexibility and durability of your fairing material. Products with a high impact resistance will better withstand the rigors of daily riding. Ensure that the filler can be sanded and painted seamlessly to match the original finish of the motorcycle.
Finally, after repairs, a quality paint system is vital for achieving a durable finish. Use automotive-grade spray paint formulated for plastics to ensure adhesion and longevity. A clear coat is also recommended to provide additional protection against UV damage and scratches, ensuring that your repairs remain vibrant and intact.
By carefully selecting the right materials for your motorcycle fairing repairs, you can achieve a durable, aesthetically pleasing finish that enhances the overall look and feel of your bike.